
 |
| Nikon D7000, 30mm (18-55mm), f7.1, 1/40, ISO 6400 |
We aren’t quite done with the bear skeleton yet. The last post was getting a little long, but the subject has a little more to teach us.
I took the photo above with the same camera but from a different angle and a slightly different focal length. This shot doesn’t provide as good a sense of the bear’s surroundings. But the Aaaaaagh! factor is much higher. Those teeth! Those claws! If this thing hadn’t been dead for millennia, I’d be in serious trouble right about now.
You can use this shot to apply what you learned last week. How could you edit this picture to make the bear stand out more? If you have a copy of Photoshop (or other image editing software), feel free to download the image and play around with it.
Now here’s the same subject shot with a different camera and lens:
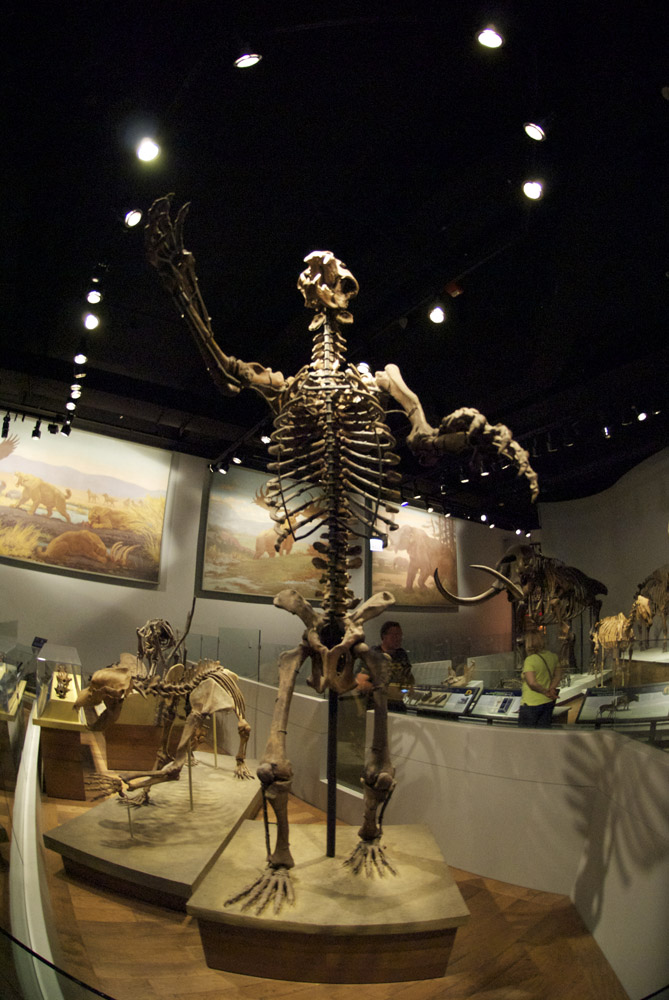 |
| Nikon D7000, 10.5mm, f3.2, 1/30, ISO 1600 |
The fisheye allows me to get the whole skeleton in while at the same time preserving the sense of menace. This would have been a tougher edit, however.
Before we leave the Field Museum, let’s look at one more subject: ISO. Museums tend to be good places to practice your exposure control. Subjects tend not to move around a lot, so you don’t have to fret about losing your shot. Still objects also eliminate a lot of shutter speed worries (if it isn’t moving, you don’t have to care much about subject motion blur). You will probably also encounter many different lighting conditions, which should keep you mindful of your shutter and aperture settings.
The big challenge is typically that museums tend to use lighting that’s pleasing to the eye but too dim for photography. The easiest way to compensate for the lower light (other than using a tripod, which most museums don’t allow) is to bump up your ISO, making your camera’s imaging chip more sensitive to available light. However, there’s a trade-off involved.
 |
| Nikon D7000, 22mm (18-55mm), f7.1, 1/40, ISO 6400, cropped |
No comments:
Post a Comment